
cameraCalibrator opens the Camera Calibrator app.
You can use this app to estimate camera intrinsic and extrinsic parameters.
This app can also be used to compute parameters needed
to remove the effects of lens distortion from an image.
Follow this workflow to calibrate your camera using the app:
For best results, use between 10 and 20 images of the calibration pattern. The calibrator requires at least three images. Use uncompressed images or lossless compression formats such as PNG. The calibration pattern and the camera setup must satisfy a set of requirements to work with the calibrator.
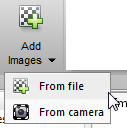
To begin calibration, you must add images. You can add saved images from a folder or add images directly from a camera. The calibrator analyze the images to ensure they meet the calibrator requirements and then detects the points.
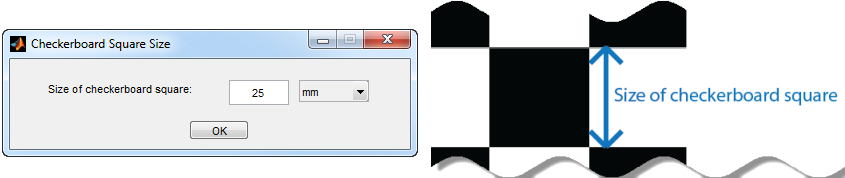
After you select the images, in the Checkerboard Square Size dialog box, enter the length of one side of a square from the checkerboard pattern.
The calibrator attempts to detect a checkerboard in each of the added images. An Analyzing Images progress bar window appears, indicating detection progress.
If any of the images are rejected, the Detection Results window appears, which contains diagnostic information. The results indicate how many total images were processed, and how many were accepted, rejected, or skipped The calibrator skips duplicate images.
The Data Browser pane displays a list of images with IDs. These images contain a detected pattern. To view an image, select it from the Data Browser pane.
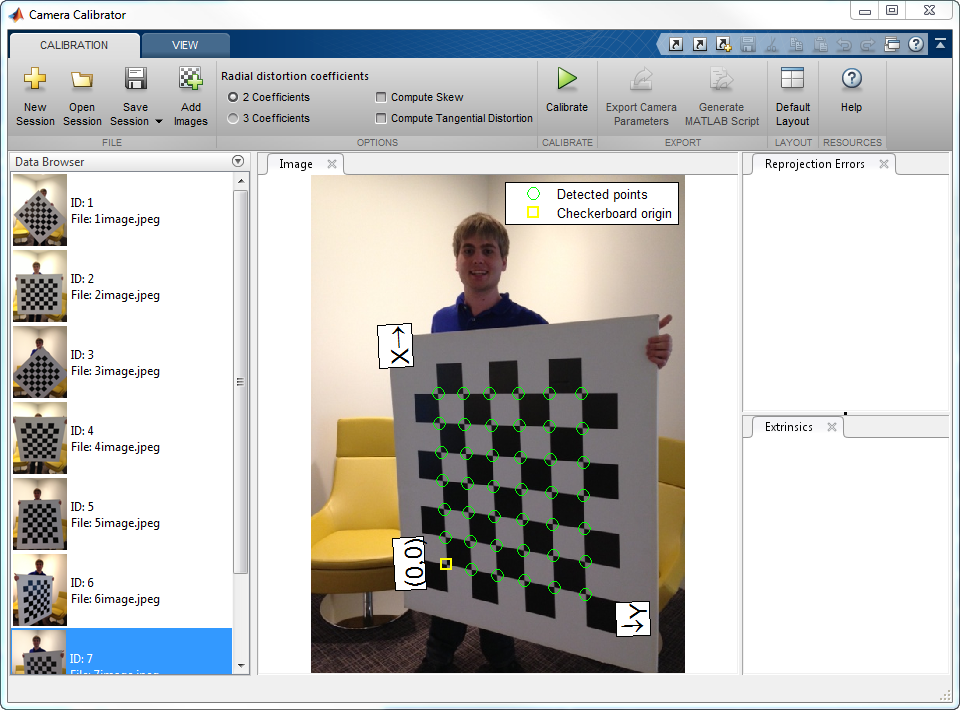
The Image pane displays the checkerboard image with green circles to indicate detected points. You can verify the corners were detected correctly using the zoom controls on the View tab. The yellow square indicates the (0,0) origin. The X and Y arrows indicate the checkerboard axes orientation.
Once you are satisfied with the accepted images, click Calibrate. The default calibration settings assume the minimum set of camera parameters. Start by running the calibration with the default settings. After evaluating the results, you can try to improve calibration accuracy by adjusting the settings and adding or removing images, and then calibrate again.
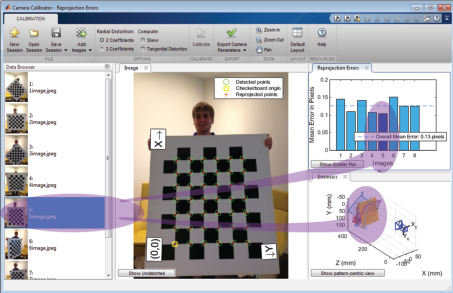
You can evaluate calibration accuracy by examining the reprojection errors and the camera extrinsics, and by viewing the undistorted image. For best calibration results, use all three methods of evaluation.
When you are satisfied with calibration accuracy, click Export Camera Parameters. You can save and export the camera parameters to an object or generate the camera parameters as a MATLAB script.
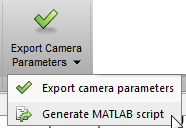
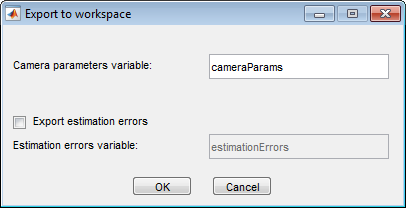
Click Export Camera Parameters to create a cameraParameters object in your workspace. The object contains the intrinsic and extrinsic parameters of the camera, and the distortion coefficients. You can use this object for various computer vision tasks, such as image undistortion, measuring planar objects, and 3-D reconstruction. See Measuring Planar Objects with a Calibrated Camera. You can optionally export the cameraCalibrationErrors object, which contains the standard errors of estimated camera parameters.
See script2.m for an example of publishing some information about the cameraParameters object.
Click Generate MATLAB script to save your camera parameters to a MATLAB script, enabling you to reproduce the steps from your calibration session.
Maintained by John Loomis, last updated 15 February 2015